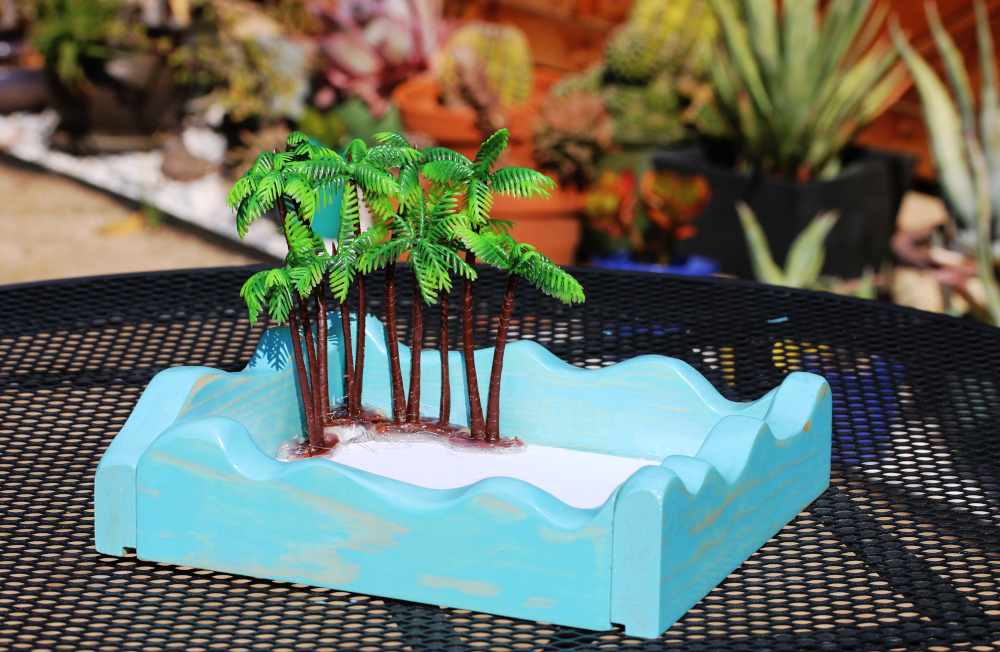
How I made Pusheen's Zen Garden
Not so exact:
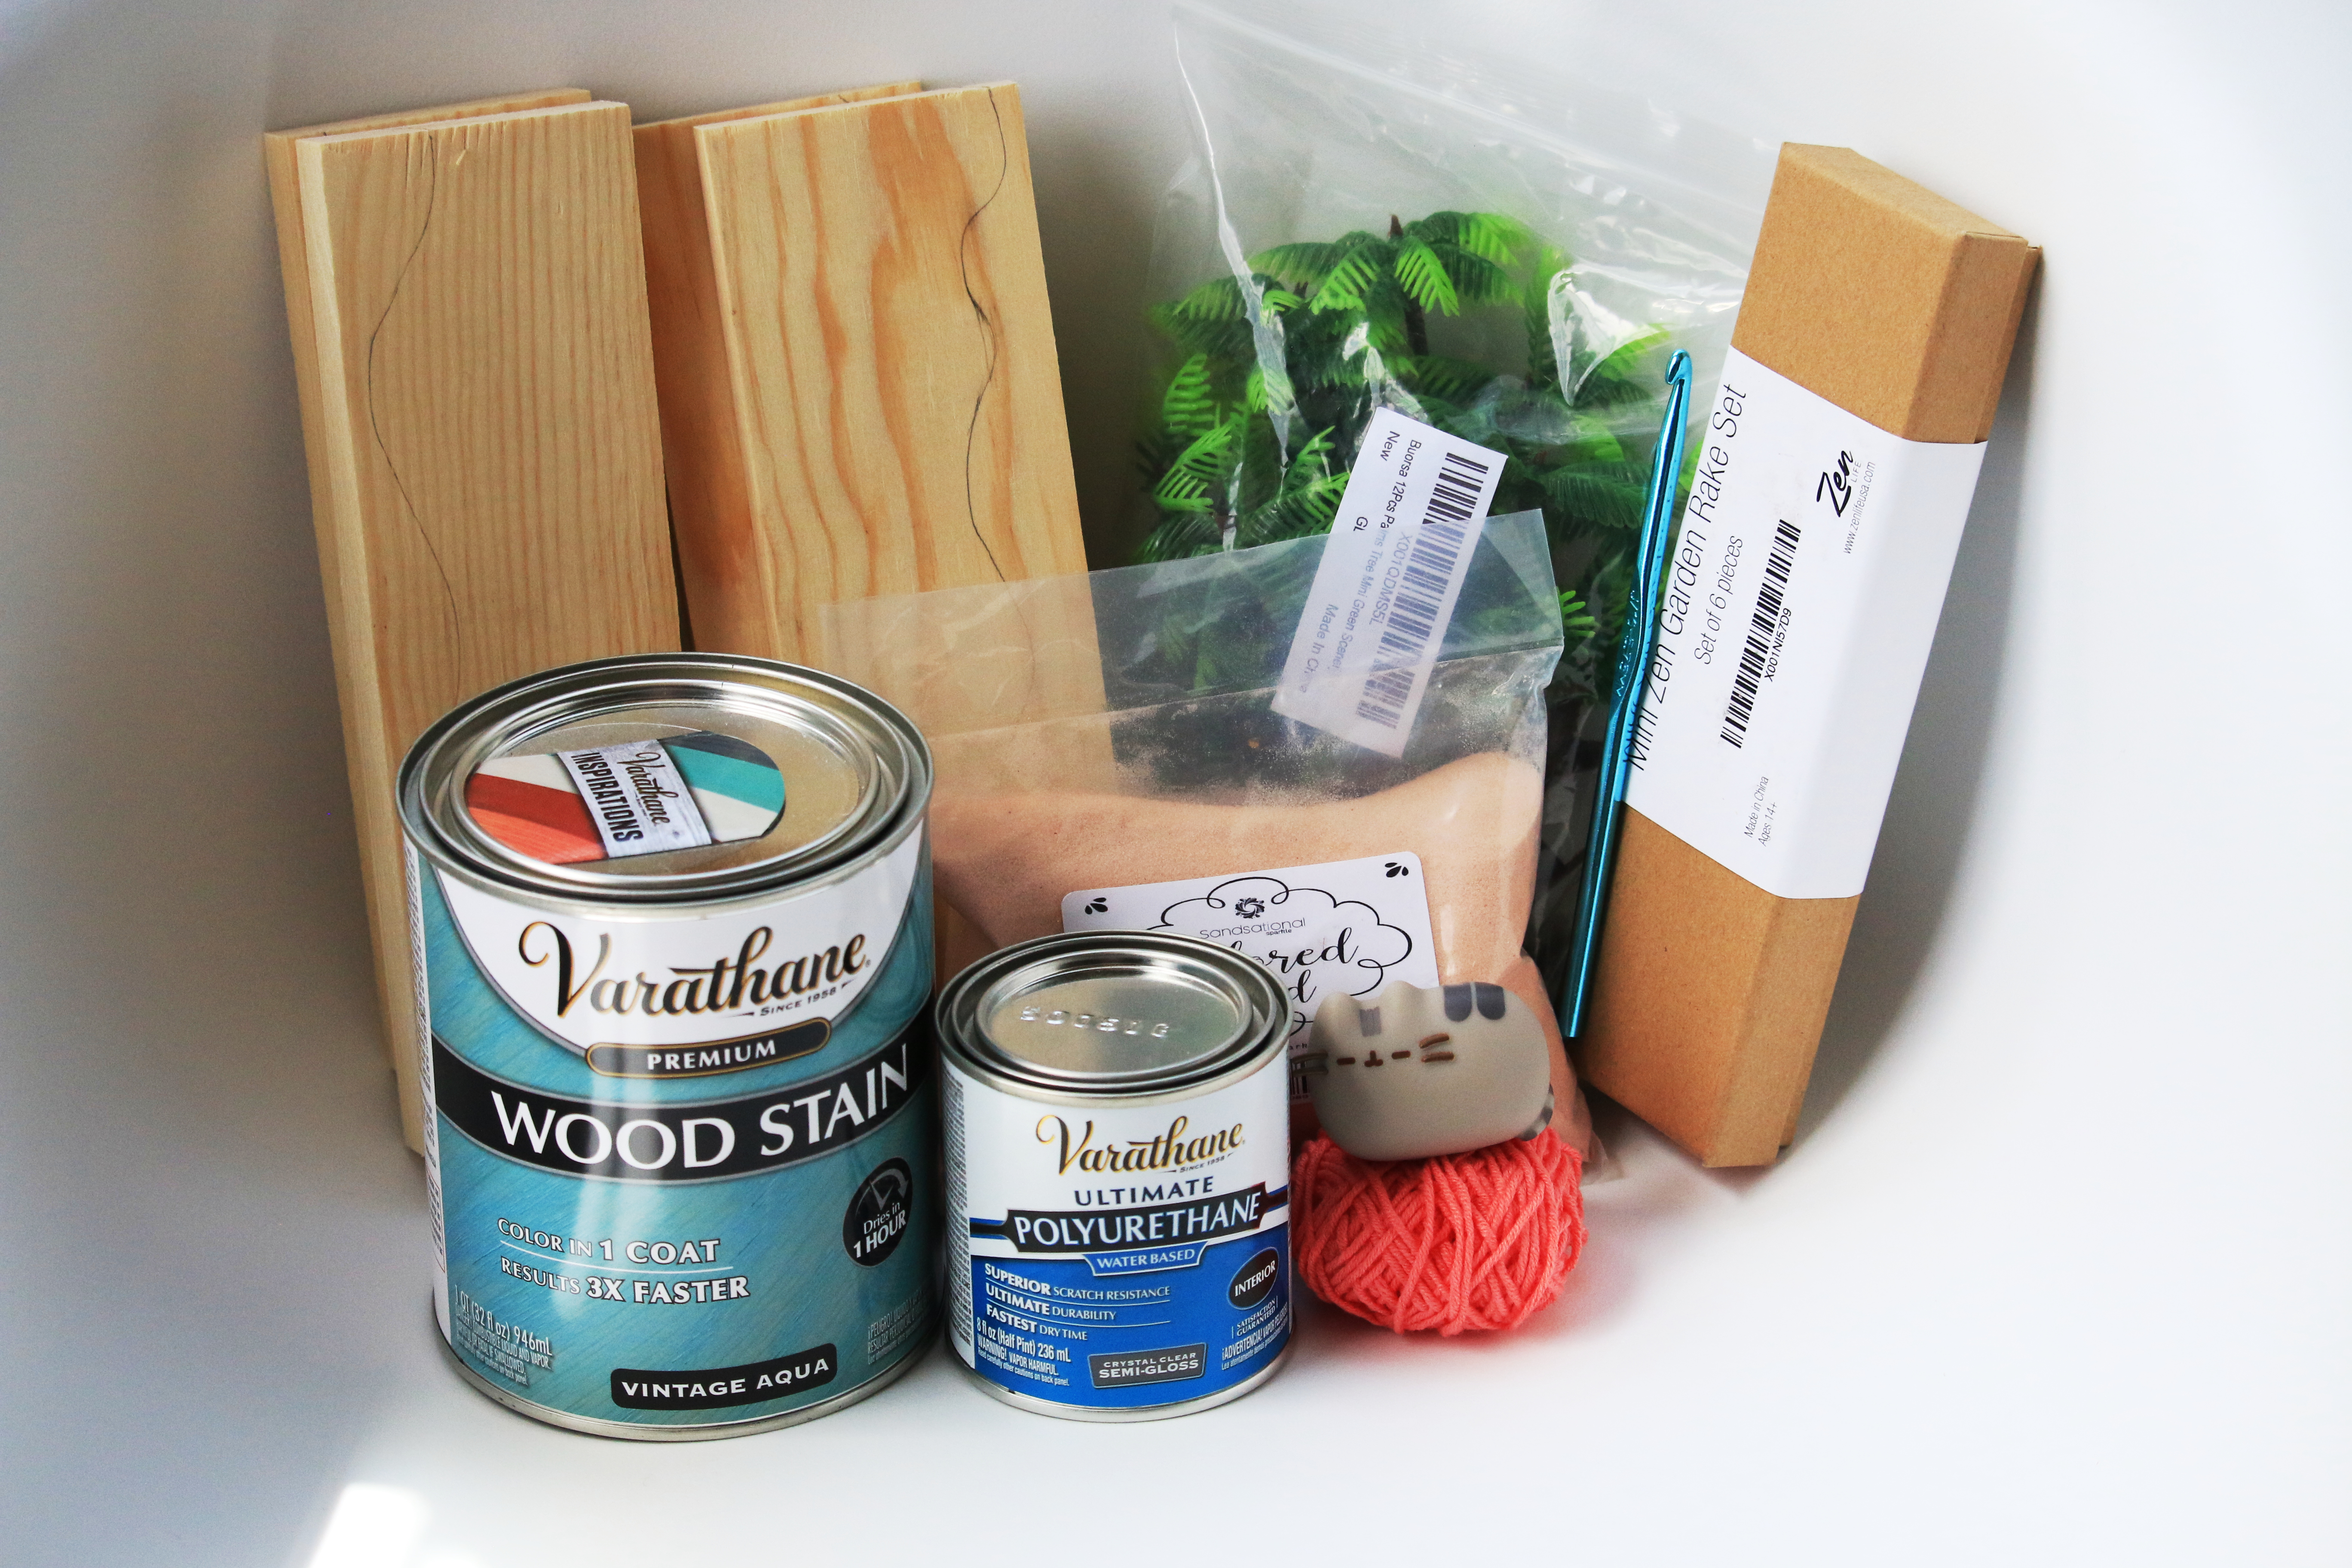
I already had the crochet hook, yarn, and sewing pins. Here's what I'd buy if I needed to. Size E/3.5mm Crochet Hook Cheap, Medium-weight, Acrylic Yarn Sewing Pins
This is probably the wood I bought. I looked for a Birch or Pine wood that was unwarped and didn't have knots. 0.75" x 7.25" x 48" Pine Board
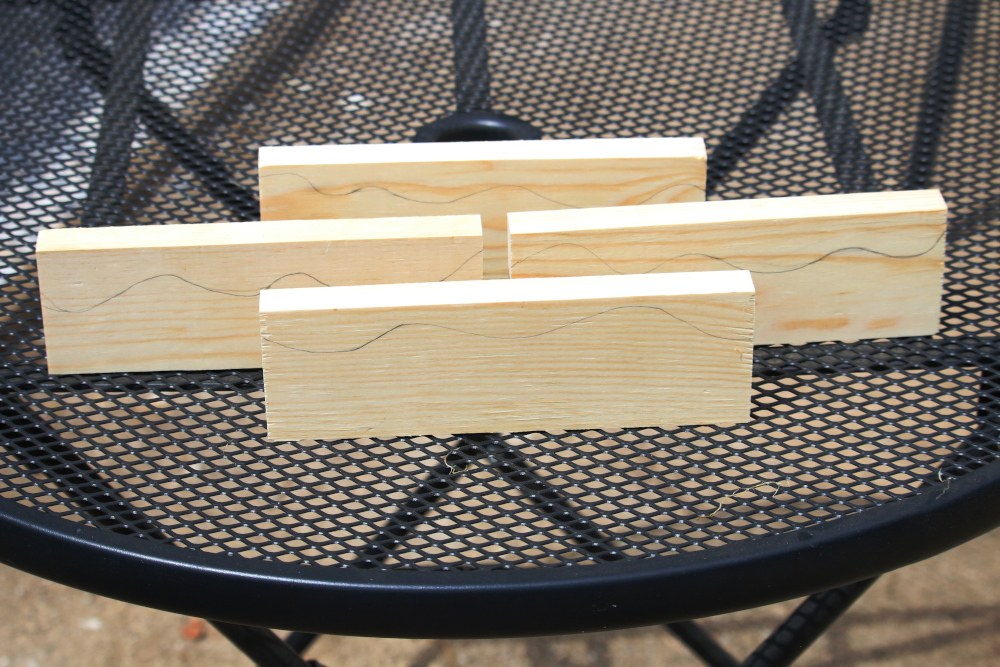
I started by cutting the Pine board in half length-wise so that I had two 0.75" x 3.6" x 48" boards.
One of those boards was then cut into four pieces: (2x) 7" & (2x) 8" long boards.
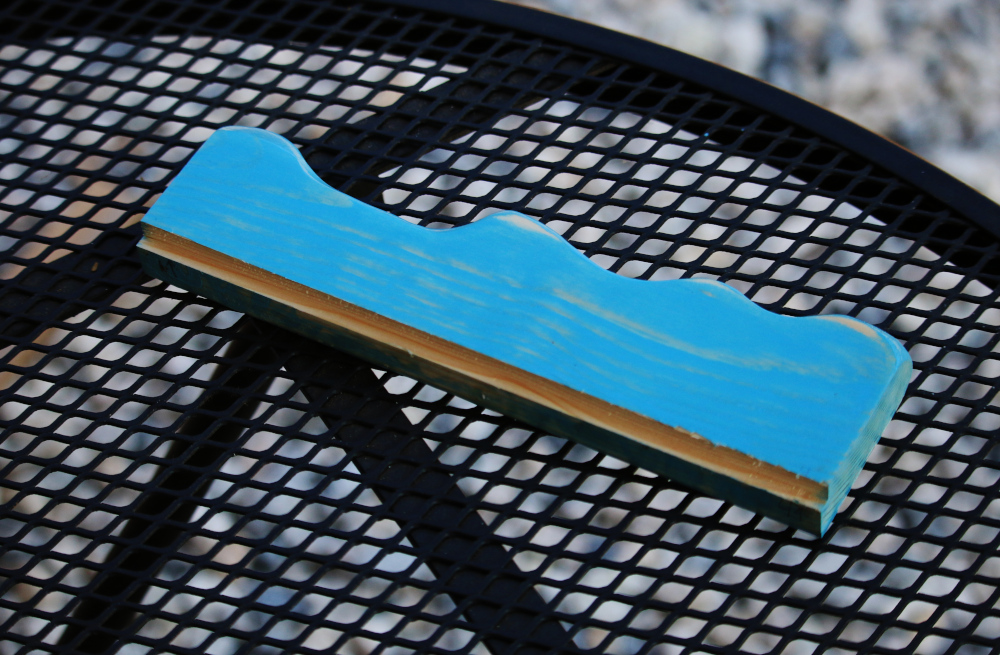
Next I arranged the boards into a rectangle box, drew the wave pattern to be cut, and numbered the bottom of the boards to indicate where the wave corners matched up.
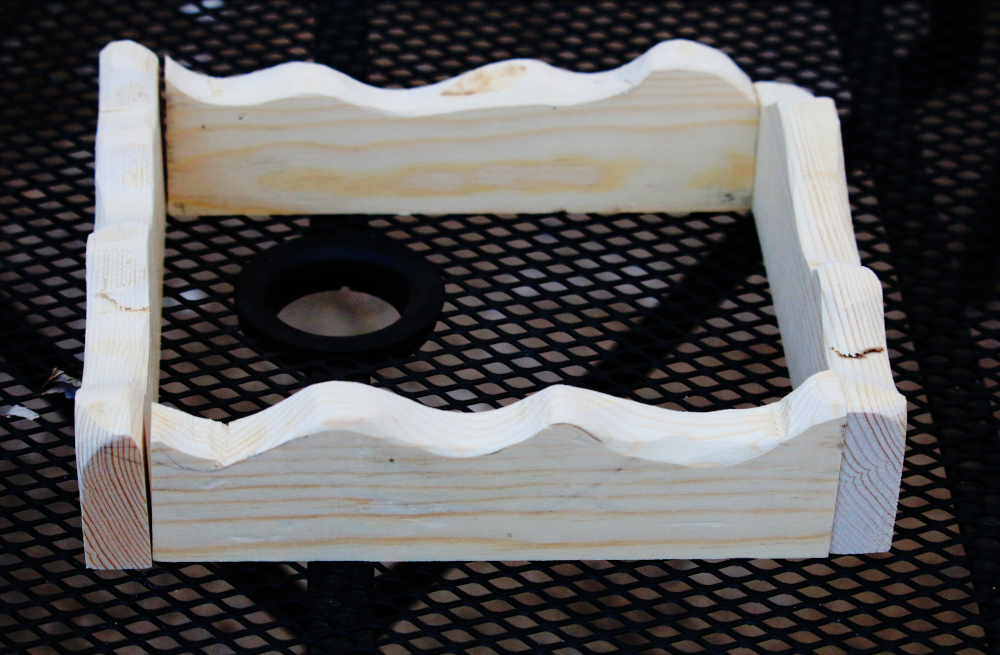
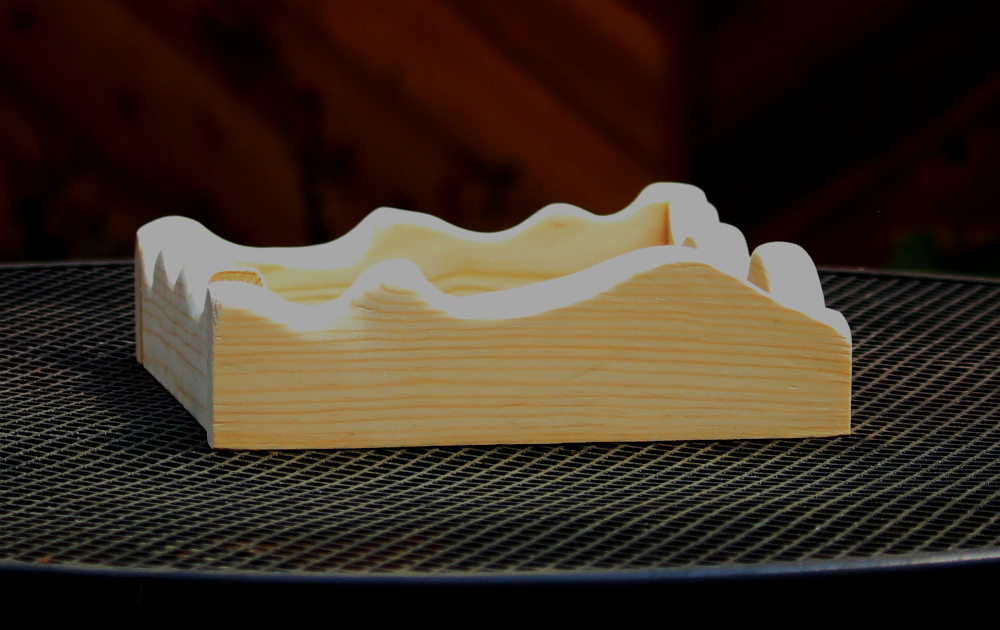
Sorry for the horribly overexposed picture, I was more excited about my zen progress than I was about taking the time to set up proper lighting.
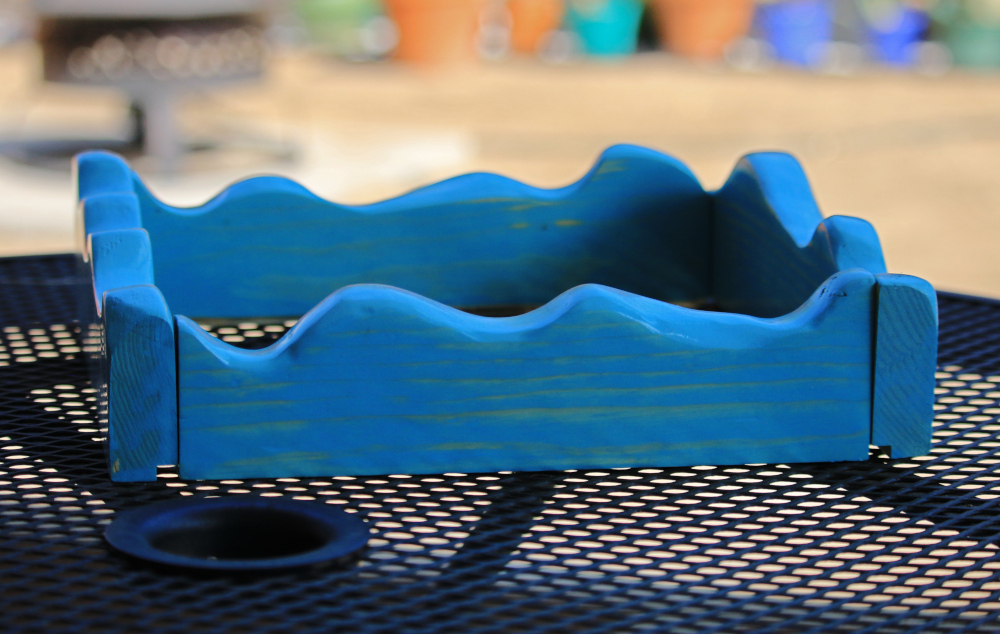
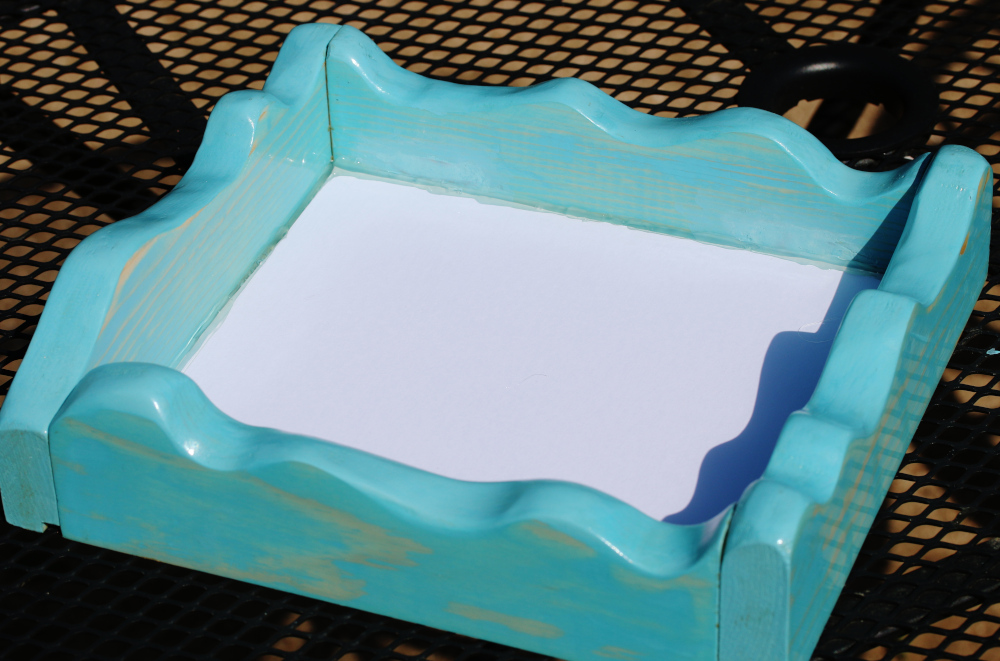
Took one coat of stain, which I sanded to make some original Pine color show through, and 3 coats of polyurethane.
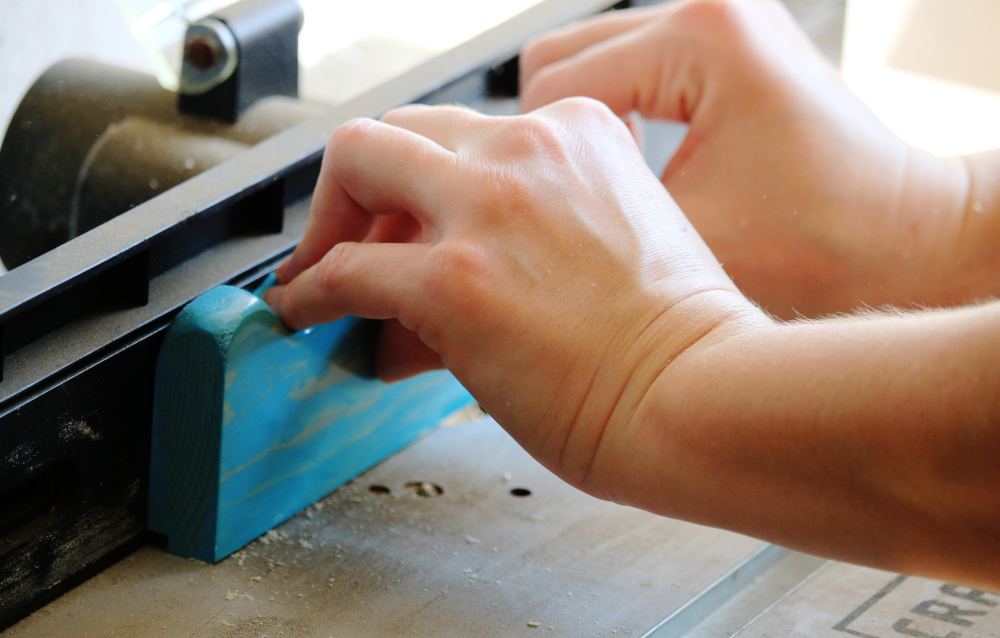
To make a seat for the foam board bottom I routed a 0.25" x 0.25" corner into the inner-bottom length of each wave board. A drawing would have made me realize that I should leave 0.25” of wood at the end of every board so the assembled box wouldn’t show the routed edge. Skip the next picture to see the glaring notch of wood missing from the outside
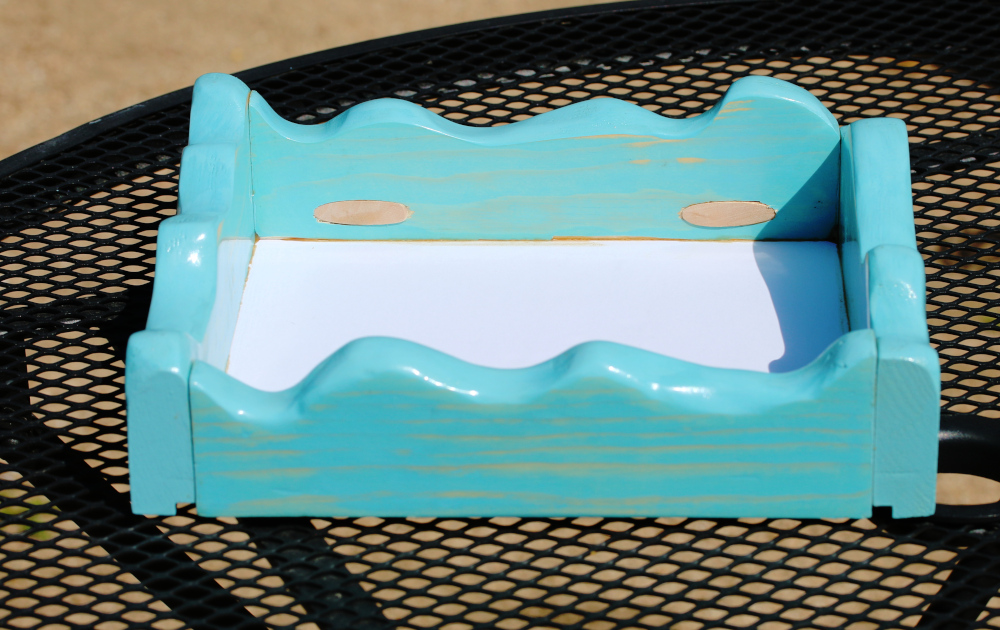
This is the second time I regretted not making a drawing. Had I thought the process through I would have used finishing nails and wood glue to assemble the box BEFORE applying stain and polyurethane. I did not list the screws and pocked hole plugs in my BOM because I will not do it this way again, and do not recommend it.
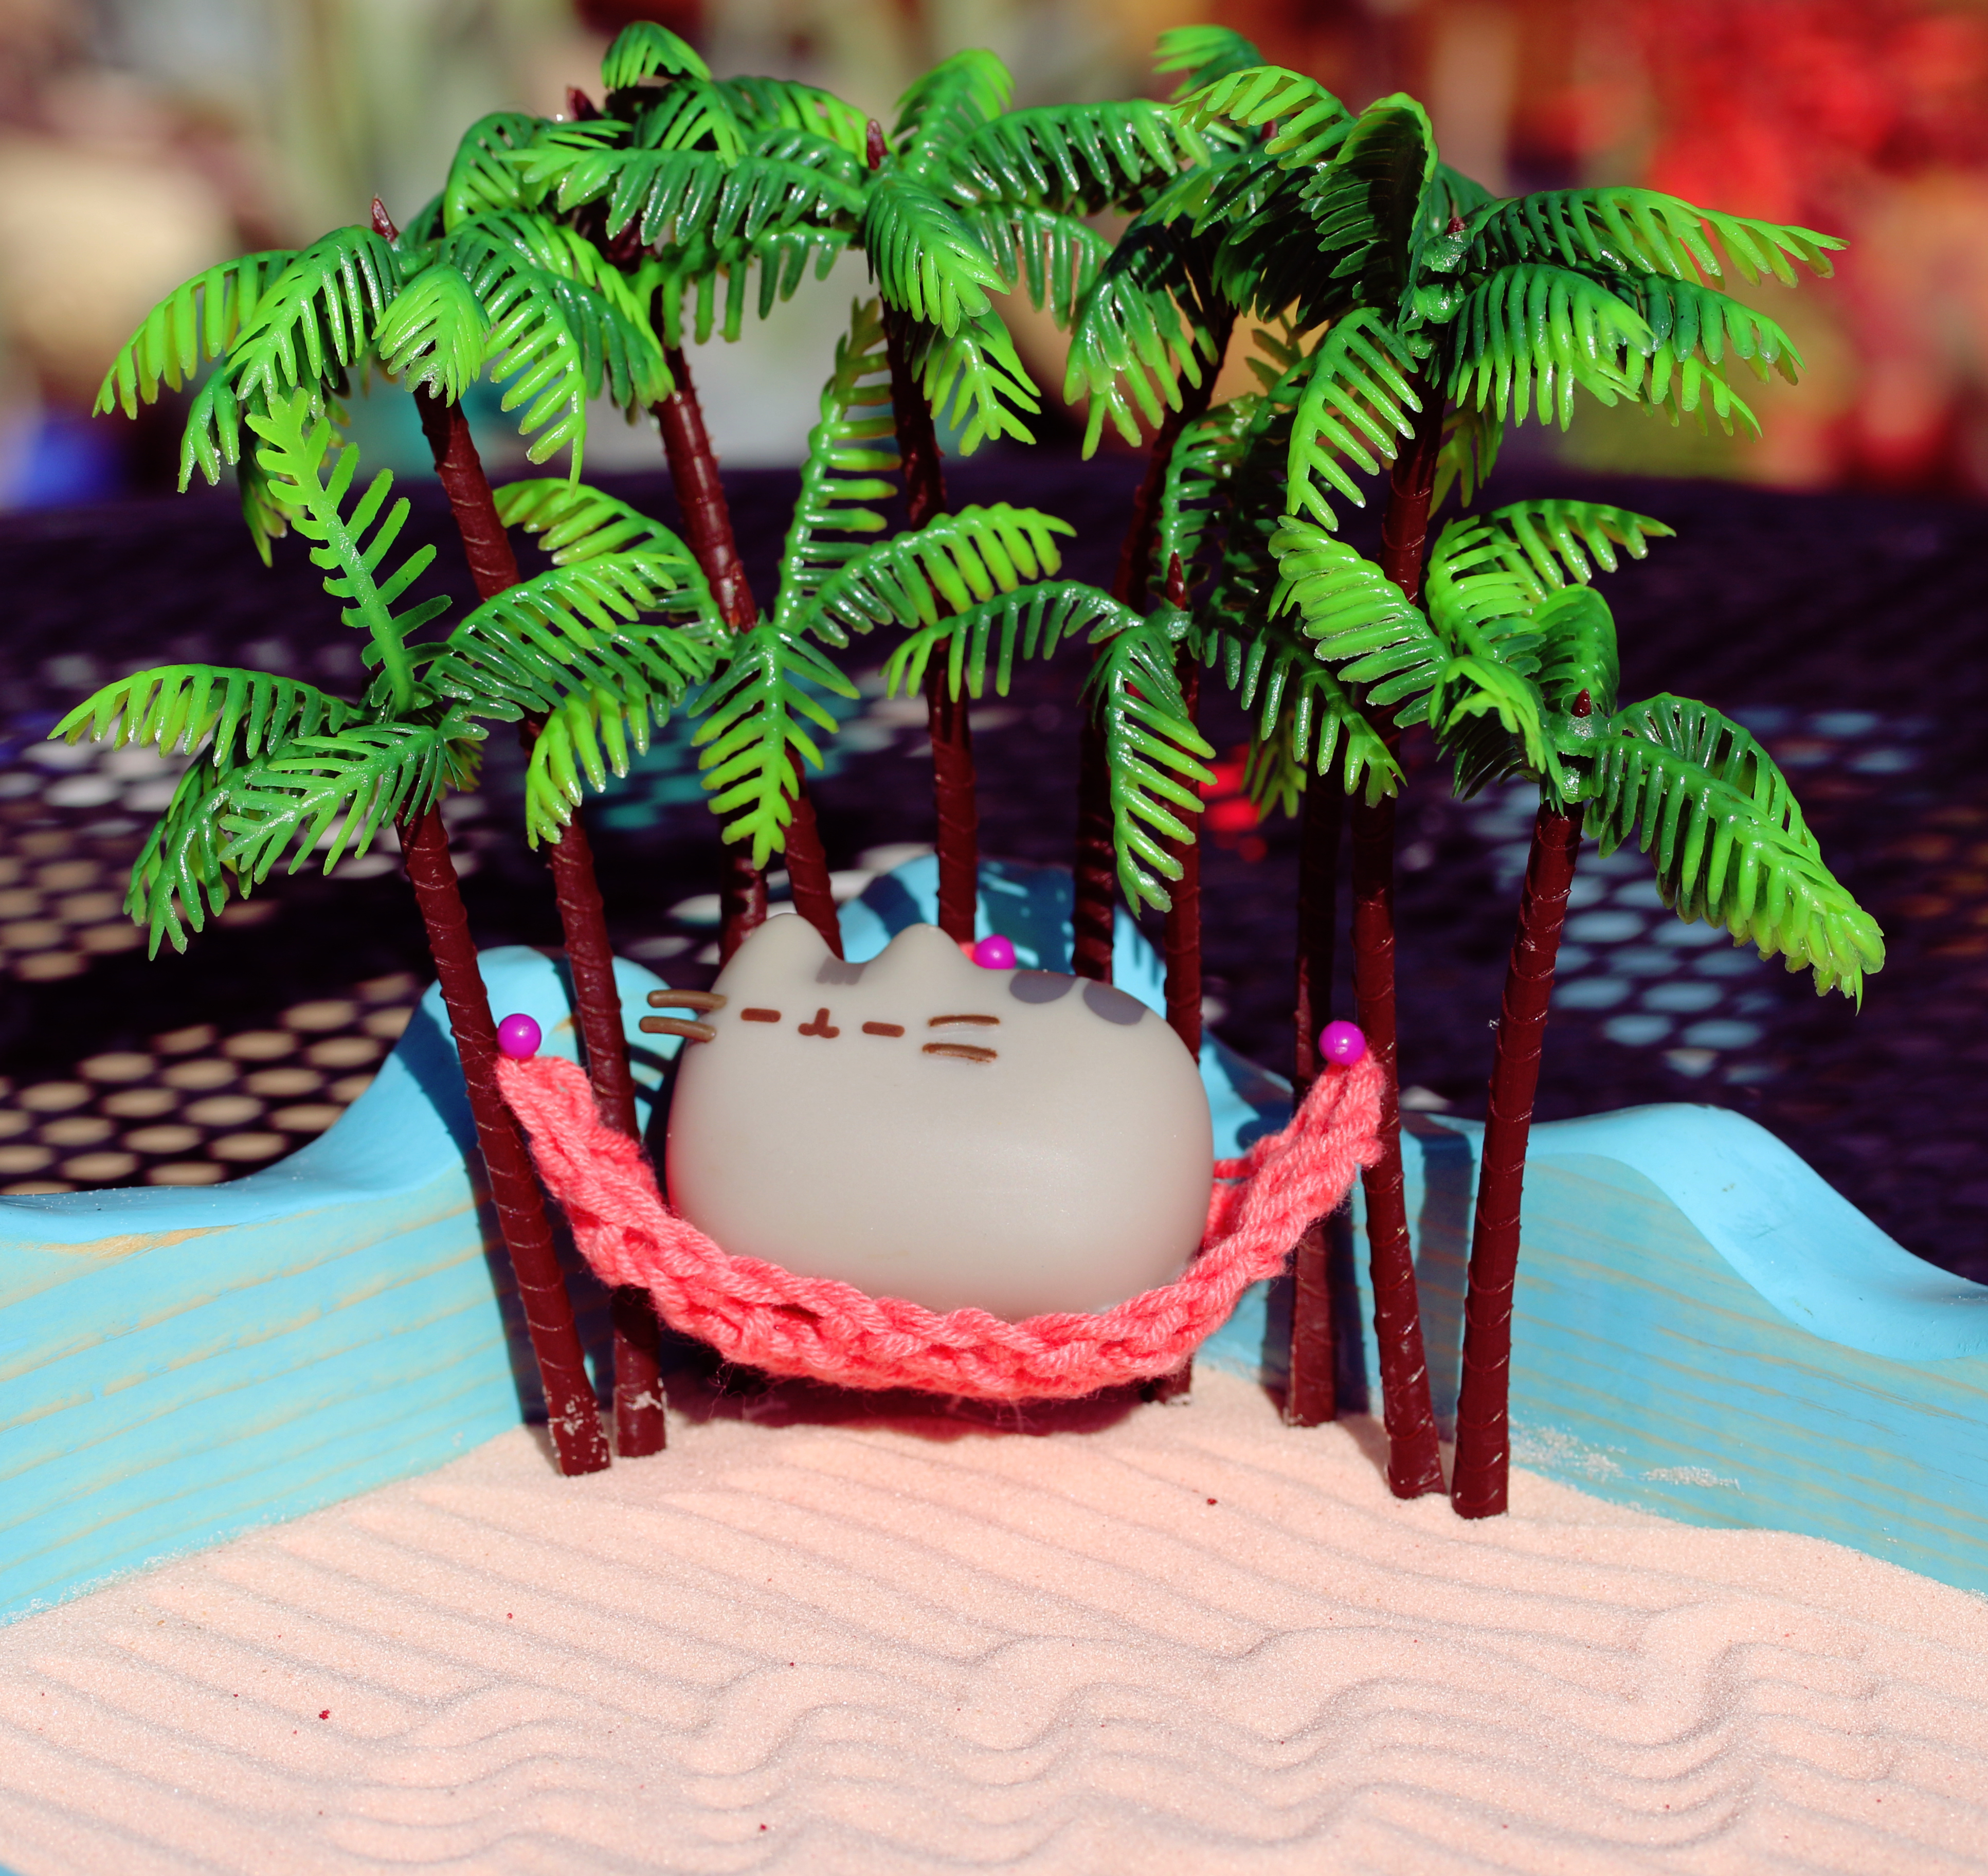
I forgot to take pictures of the hammock I crocheted, but here is the YouTube video I watched to learn how to crochet a triangle.
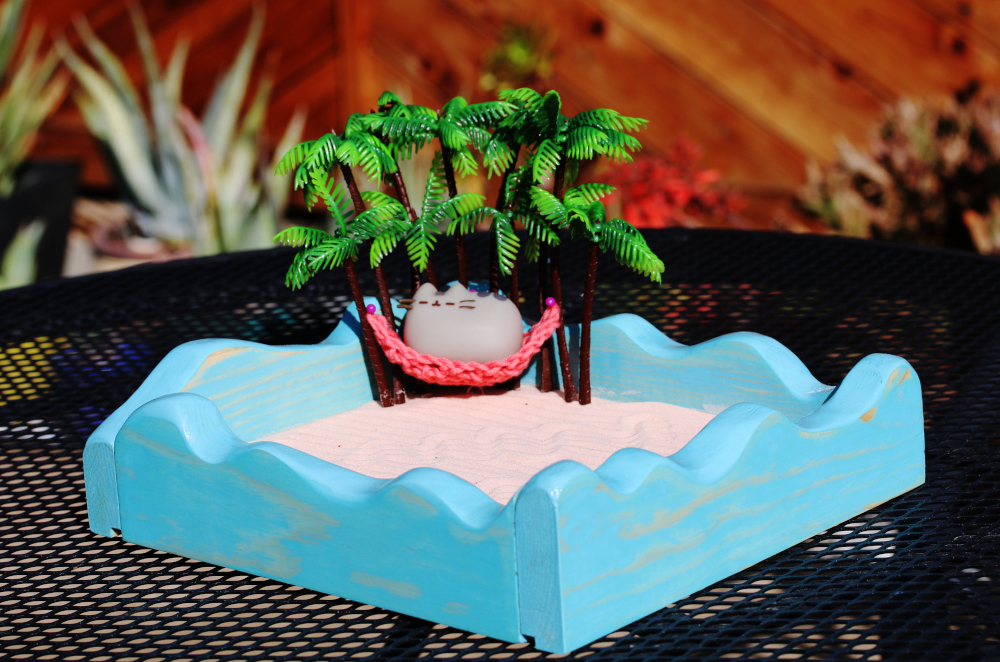
At long last I settled Pusheen into his hammock where he will spend the rest of his days in peace, and inspiring peace